Nobody warns you that the hardest part of buying your first pair of hockey skates happens before you ever step on the ice. It is not the price, and it is not choosing a colourway. It is the fit. A skate that is half a size wrong will make every stride feel unstable, turn your first ten sessions into a lesson in ankle pain, and send you back to the shop with blisters you did not need. Get the fit right and everything else — edges, balance, stopping — becomes noticeably easier to learn. Here is how to measure, try on and judge a skate so the pair you leave with actually belongs to your feet.
Measure your feet before you look at a single skate
Do this at home, late in the day, when your feet are at their largest. All you need is a sheet of paper, a pencil, a ruler and a wall.
Stand on the paper with your heel against the wall and your weight evenly on that foot. Have someone mark the tip of your longest toe — not your big toe necessarily, since the second toe is often longer. Measure from the wall edge of the paper to that mark, in centimetres or millimetres. Then measure across the widest part of the ball of your foot, from the joint of the big toe to the outside edge.
Do both feet. Almost everyone has a small difference between them, and you always fit to the larger foot. Wear the socks you plan to skate in while you measure — thin, close-fitting athletic socks, not the thick wool pair you wear to the rink in winter.
Write the numbers down. You will use them as a sanity check every time you look at a size chart, and they will save you from the most common beginner mistake of all: guessing.
Skate sizing is not shoe sizing
This catches out nearly every first-time buyer. Hockey skates typically run about one to one and a half sizes smaller than your US street shoe size. If you wear a 9 in trainers, you are probably looking at a 7.5 or 8 in a skate. That is a rough rule of thumb, not a law — which is exactly why the measurements above matter more than the number on the box.
Brands also build their boots on different lasts, so a size 8 in one line can feel tight while a size 8 in another feels roomy. Half sizes exist in many models but not all, and junior or intermediate ranges have their own size scales. Treat every sizing chart as a starting point and let your feet make the final decision.
Width matters as much as length
Most adult hockey skates come in a standard width, often labelled D, and a wider option, often labelled EE, though some brands use their own fit system. If the ball of your foot feels pinched, do not simply move up a half size — that adds length you do not need and leaves the heel sliding. Ask for the wider fit instead.
What a correct fit actually feels like
Once the skate is laced, three things need to be true.
Your heel stays locked in place
With the skate laced and your weight centred, try to lift your heel out of the boot. It should not move more than a fraction. Then bend your knees into a skating stance — the heel should stay down and back in the heel pocket. If your foot slides forward when you flex, the skate is too long or too wide, and you will spend every shift fighting the boot instead of skating.
Your toes just brush the cap
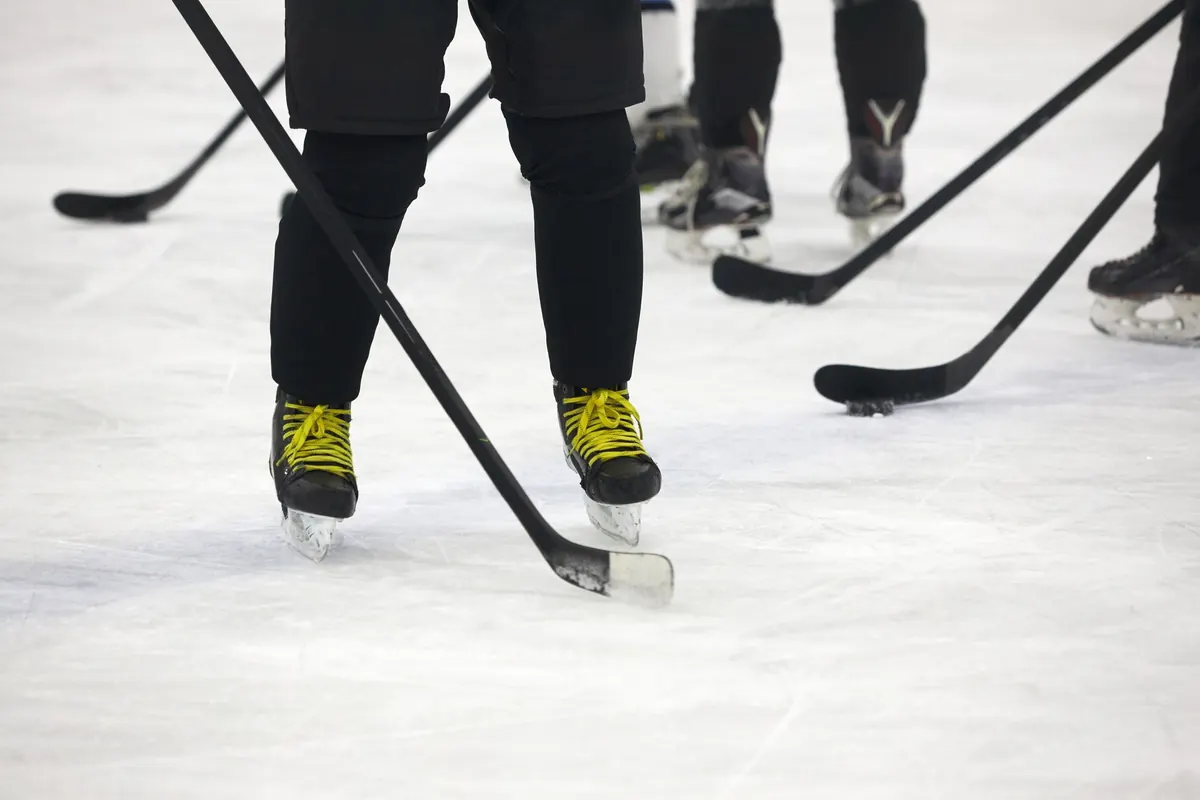
Standing upright, your longest toe should lightly touch or hover a millimetre from the toe cap. When you bend into a skating stance, your foot shifts back slightly and you should feel a little breathing room behind the toes. Cramped toes mean the skate is too short. Toes that never touch anything mean it is too long.
The width is snug, not tight
The ball of your foot should feel held, like a firm handshake. You should not feel the edge of the footbed pressing under your arch or the side of the boot digging into the outside of your foot. Numbness, a sharp hot spot or a burning sensation across the top of the foot after a few minutes are all signs of the wrong shape, not something to push through.
Trying skates on: a step-by-step
- Bring the socks you will actually skate in, and shop late in the day if you can.
- Try on both skates, on both feet. Fit to the larger foot.
- Unlace all the way to the toe, slide your foot in, and tap the heel firmly back into the pocket.
- Lace from the bottom up, leaving the top eyelet undone at first, and stand up.
- Check toe contact and heel lock as described above.
- Bend your knees into a hockey stance and hold it for a few seconds. Feel for pressure points on the sides, the top of the foot and the ankle bones.
- Walk around the shop in skate guards, or at minimum shift your weight from foot to foot, for a full ten minutes.
- Repeat the whole process with a half size up or down and, if needed, a different width. Comparing two or three pairs is the only reliable way to know what "right" feels like.
Common fit mistakes to avoid
- Buying your street shoe size. It will almost certainly be too big, and a loose skate is harder to skate in than a snug one.
- Sizing up for room to grow. For a child or teenager, a boot that is a size too long makes balancing genuinely harder. Replace skates when they are outgrown; do not pre-buy the growth.
- Sizing up to fix width. If the skate pinches at the ball of the foot, ask for a wider fit, not a longer boot.
- Wearing thick socks. They take up volume, bunch up under the foot and make the boot feel different the moment you switch to proper hockey socks.
- Believing break-in will fix pain. A mild hot spot can settle after two or three skates. Sharp pain, numbness or a heel that lifts will not improve — the skate is the wrong shape for your foot.
- Buying online with no return option. If you cannot try before you buy, at least confirm you can send them back unworn or after a carpet skate.
- Cranking the top eyelets. Beginners often overtighten the top of the boot to feel stable, which cuts off ankle flex and circulation. If you need to over-tighten, the skate is too big.
Break-in, heat moulding and aftercare
Most skates need a few outings before the boot softens around your foot. Expect discomfort at the edges, not pain in the middle. Many mid-range and higher-end boots are heat-mouldable and a good shop can bake them to your foot shape; entry-level models often are not, so ask before you assume. Do not attempt to bake skates in a home oven.
After each skate, wipe the blades dry, pull the insoles out and let the boots air-dry with the laces loose. Never store them in a sealed bag while damp. If you have bunions, very flat or very high arches, or you wear orthotics, mention it to the fitter — and if foot pain persists off the ice, get it looked at by a professional rather than working around it with skate fit.
Before you pay: a five-minute checklist
Toes lightly brushing the cap. Heel locked down when you flex. Ball of the foot snug with no pinching. No sharp pressure anywhere after ten minutes of standing and walking. Both feet checked. The socks you will actually skate in. And a shop that will let you bring them back if the first real skate tells a different story.
If all of that lines up, buy them and stop second-guessing. The right fit feels slightly tighter than you expect in the shop and completely normal within two skates — and that is exactly where you want to start.
Photo: Tony Schnagl / Pexels