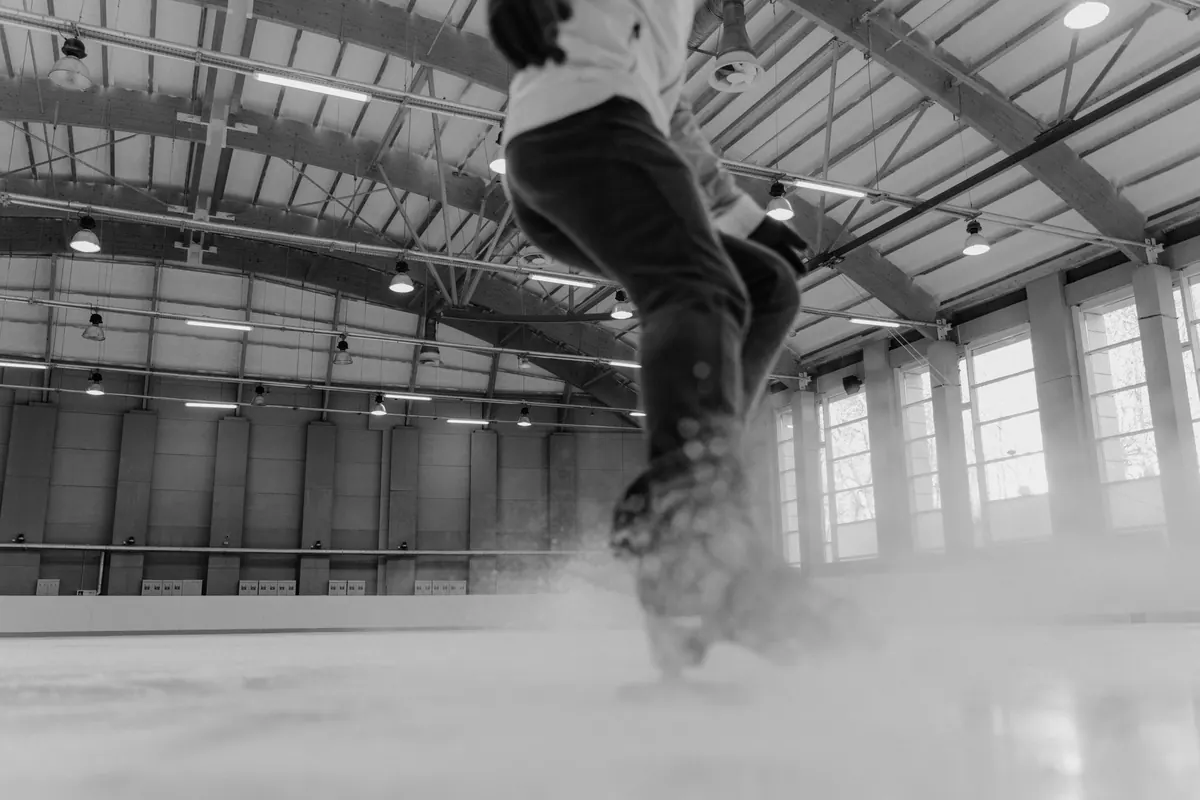
Speed skating has a reputation as a sport for people who started at six, on a 400-metre oval, in a country with long winters and a deep bench of coaches. Most rinks tell a different story. Adults turn up every season — from inline skating, from hockey, from a decade of recreational laps — and discover that the technique is learnable and the community is small enough that people notice when you show up twice.
The first month is mostly about two things: getting on skates that fit and don't fight you, and building a position that lets you glide instead of stride. Everything after that is refinement.
Where Adults Actually Start
Speed skating splits into long track and short track. Long track means a 400-metre oval, usually outdoor, with long straights and wide, sweeping corners. Short track is the indoor version on a hockey rink, with tighter corners and more traffic. For an adult beginner, short track is usually the easier entry point: indoor ice, rental or loaner equipment, and clubs that run beginner or masters sessions.
Ask your local rink two questions. First, whether they run a learn-to-speed-skate course or an adult masters group — those sessions exist specifically for people who have never worn a long blade. Second, whether they have speed skates to borrow for the first few weeks. Buying before you have felt a proper glide is the most common way beginners waste money.
If you come from inline skating, you have a head start on balance but probably a habit to unlearn: inline pushes go backward and to the side, while on ice you want the push to travel almost straight sideways. Hockey players arrive with strong edges and a short, choppy stride that needs lengthening. Neither background is a problem. Both need patience.
Your First Skates: Fixed Blades Before Clap Blades
There are two kinds of speed skate you will see at any session. Fixed-blade skates have a long blade bolted rigidly to the boot. Clap skates have a hinge at the toe that lets the heel lift off the blade at the end of each push. Clap skates are faster and more efficient once you have a stable position, but they punish a beginner: the blade detaches from your heel exactly when you are least balanced.
Start on fixed blades. Many clubs keep a stock of them in common sizes for exactly this reason, and a used pair in decent condition is a sensible first purchase.
Fit matters more than anything else you will read here. The boot should be snug around the heel and midfoot with no lift when you push off, and your toes should just touch the front without curling. A speed boot is closer to a cycling shoe than a running shoe — do not size up for comfort. If your heel lifts, you will grip with your toes, your calves will burn, and your position will collapse.
Inspect any second-hand pair properly: blades should be straight when you sight down them, boots should still be stiff enough to hold your ankle, and there should be no deep rust or loose rivets. Blades also need sharpening, and speed blades are sharpened flat rather than with the hollow used on hockey or figure skates. Ask the seller or a club coach who sharpens locally; a badly sharpened blade will slide out from under you in corners.
The Rest of the Kit
You do not need much, and none of it needs to be expensive.
- A helmet. A certified skate, hockey or ski helmet, worn properly. Speed skating falls are usually low and sideways, but ice is ice.
- Cut-resistant gloves. Blades are sharp and hands end up near them in a fall. Hockey gloves work fine.
- Knee and elbow pads. Optional when you are stable, genuinely useful in your first sessions.
- Layers that stay close to the body. Nothing loose or dangling near the blades. Thin gloves under your outer pair on cold days.
- Blade guards and a towel. Always walk off the ice with guards on, and dry the blades before they go in the bag.
- Warm-up clothes and dry shoes for afterwards. You will cool down fast once you stop moving.
Your First Sessions on the Ice
Keep sessions short. Twenty to thirty minutes of actual skating is plenty at the start, and two sessions a week is a better plan than one long one. Go early in a session when the ice is fresh and your legs are not tired.
Spend the first ten minutes on a few simple drills, holding the barrier if you need to:
- Two-foot glide. Push off gently and stand still on both blades, feeling where the flat of the blade sits under your foot.
- One-foot glide. Glide on each foot in turn, keeping the free foot low and close to the ice.
- Sculling. With feet together, push both blades outward and pull them back in, feeling the sideways pressure that makes you move.
- Side pushes along the boards. Push away from the barrier with one skate, return, repeat. This teaches the sideways push that recreational skating never asks for.
- Wide turns. Skate slow circles in both directions, leaning slightly into the turn, without crossing over yet.
Learn to fall on purpose, too. It is far less alarming to fall when you have practised it. Go down onto a hip and knee rather than reaching back with a hand, and get up by bringing your feet under you and pushing up with a hand on the ice.
Posture, Push, and the First Corners
The basic position
Everything in speed skating comes out of one stance. Feet roughly hip-width apart. Knees bent enough that you could sit down on a low stool. Hips back, chest slightly forward, back long rather than rounded, head up and eyes on the ice ten or fifteen metres ahead. Arms hang relaxed with the hands in front of your hips, not swinging wide.
The most common beginner error is bending at the waist instead of the knees, which puts all the weight on the front of the blade and makes the lower back ache within minutes. The second is standing tall when tired. Shorten your session instead of standing up.
A useful cue: think about pushing the ice behind you and sideways, not about pulling yourself forward.
Push and glide
On ice, the push travels sideways — nearly at a right angle to the direction you are going. Keep the pushing blade on the ice longer than feels natural, let the pressure roll through the ball of the foot, and finish the push with the leg almost straight. Then bring the skate back under your body close to the ice rather than lifting it high. Beginners lose most of their glide in that recovery, not in the push.
Corners
Skip crossovers for the first few sessions. Instead, skate slow circles and learn to hold an edge: weight over the outside skate, inside shoulder slightly lower, hips low. When you can hold a circle on each foot without wobbling, a coach can teach you the crossover — and it will take about ten minutes rather than ten weeks.
Ice Etiquette, Falling, and Load
Follow the direction and lane rules of the session you are in, and ask if you are not sure. Do not stop in the middle of the track. Look over your shoulder before changing lanes, and keep a gap ahead of the skater in front rather than drafting at arm's length. Faster skaters will pass; let them.
Soreness in the first two weeks is normal, especially in the quads, lower back and feet. Sharp pain is not — stop and get it looked at. If you have existing knee, hip or back problems, or any cardiovascular concern, check with a doctor or physiotherapist before starting, and mention the deep-knee position specifically. A little off-ice work helps a lot: single-leg balances, lunges, glute bridges and some core work twice a week will make your ice time more productive than a third session would.
A Realistic First Month
Weeks one and two: get on borrowed or cheap fixed-blade skates, learn the basic position, and do the five drills above until they feel boring. Weeks three and four: extend your glide, add slow circles in both directions, and start skating behind a more experienced skater to feel the rhythm. By the end of the month you should be able to skate a full lap in position without standing up.
Then join the club. Ask about a masters or beginner group, get your blades sharpened by whoever the local skaters trust, and accept that the first winter is about position and glide. Speed comes later, and it comes mostly on its own.
Photo: Tima Miroshnichenko / Pexels