New figure skates are supposed to feel like a promise, not a punishment. Yet the first few sessions in stiff boots can turn a good mood into a countdown to the bench. The good news is that most break-in blisters come from a handful of fixable habits: too much time too soon, laces cranked tight from the first minute, and socks that bunch or hold moisture. Treat the first month as a gradual introduction, not a test of toughness, and your skates will shape to your feet while your skin stays intact.
Fit First: Check the Shell Before You Lace Up
Before you plan a schedule, make sure the skates are the right starting point. A new boot should feel snug around the heel and instep, with your toes just brushing the front when you stand—not curled, not swimming. If you can slide your heel up and down, no lacing pattern will fix that, and blisters are only part of the problem. Spend five minutes in the shop or at home with clean, dry feet: walk a few steps, bend your knees, and notice any hard pressure points. Mild pressure is normal in a new boot; a sharp pinch, numbness, or a spot that feels hot within a minute is worth asking a fitter about. If your skates are heat-moldable, let a reputable fitter handle the molding. Do not try to soften stiff boots in a home oven or with a hair dryer; uneven heat can damage the materials and ruin the fit.
The First Month: Build Time Gradually
Blister-prone feet usually need less volume, not more willpower. Start with short sessions and stop while your feet still feel fine. A sensible first week might be three sessions of 20 to 25 minutes, with a day off between them. Skate easy edges, forward stroking, and gentle turns. Skip jumps, deep knee bends, and long lessons until the boots begin to soften. In week two, add five to ten minutes per session and include a few slower spins or footwork patterns if they do not cause rubbing. By week three, many skaters can handle 40 to 50 minutes, and by week four, closer to a normal session—but treat that as a ceiling, not a target. If a hotspot appears, cut the session short. Ten good minutes beat forty painful ones.
- Week 1: Three 20–25 minute sessions. Basic stroking and edges only.
- Week 2: Three or four 30–35 minute sessions. Add simple turns and slow footwork.
- Week 3: Three or four 40–50 minute sessions. Reintroduce spins and low-impact skills.
- Week 4: Normal-length sessions if your feet are quiet; keep checking for hotspots.
This is a template, not a rulebook. A stiffer boot or a growing child may need more time; a softer boot or a very experienced skater may need less. The key is to increase gradually and to back off at the first sign of rubbing.
Lacing: Support the Foot, Free the Ankle
Lacing is the easiest break-in tool you have. New boots often feel tight everywhere, so skaters over-tighten the top hooks to feel secure. That is exactly where the shin and ankle need room to flex. Try this: pull the bottom two eyelets snug to lock your heel, keep the middle eyelets firm for arch support, and leave the top hooks slightly looser than feels natural. For the first few sessions, you can even skip the top hook if the boot digs into your shin. As the boot softens, tighten the upper laces a little at a time. If one foot is wider or has a higher instep, lace the two skates differently. There is no rule that both must have identical tension. Also check that the laces are flat, not twisted, under the hooks. A twisted lace creates a hard ridge that can press through the tongue.
Quick lacing check
- Heel locked down? The bottom eyelets should hold it.
- Arch supported but not pinched? Middle tension should feel firm, not tight.
- Ankle free to bend? Top hooks should allow a slight forward flex.
- No pinching at the tongue? Loosen one eyelet and retie if you feel a pressure line.
Socks: Thin, Smooth, and Consistent
Sock choice matters more than many skaters expect. A thin, seamless sock made of a moisture-wicking material reduces friction and dries faster than cotton. Cotton holds sweat against the skin, which softens the skin and makes it more likely to blister. Avoid thick hiking socks or two pairs stacked together; they change the fit and create folds. Wear the same socks for every session, including fittings, so your break-in plan starts from a consistent baseline. If you prefer a very thin liner sock, test it for a full session before committing. Also keep toenails trimmed and smooth, and check that no seam or label sits against a bony part of your foot.
Blister-Prevention Habits That Actually Help
Most prevention happens before the pain starts. Dry your skates after every session by removing the liners if they are removable, pulling the tongue forward, and letting them air out—never leave them in a closed bag. Keep your feet dry before you lace up, and change socks if they feel damp. At the first hint of a hotspot, stop and cover it. A thin blister patch, moleskin, or a small piece of athletic tape can reduce friction for the rest of the session. Do not pop a blister; if one forms, keep it clean and covered. If a blister looks infected, or if you have diabetes or circulation problems, seek professional advice rather than treating it yourself.
Build a small skate bag kit: blister patches, moleskin, a spare pair of thin socks, and a small towel. It sounds fussy until the first time a hotspot shows up twenty minutes into a lesson. Also avoid walking around the rink in your skates more than necessary. The blades are not made for concrete, and the boots flex differently when you walk, which can create new pressure points. Take skates off during breaks, let your feet breathe, and put them back on with fresh attention to lacing.
When to Adjust, Stop, or Ask for Help
Some discomfort is normal in new boots. Sharp pain, numbness, tingling, or a visible red pressure spot is not something to skate through. If a problem area persists after two or three sessions, ask a coach or fitter to look at the fit and your lacing. They may spot a heel that is slipping, a tongue that is sitting crooked, or a boot that is simply too narrow. Punched-out boots, heel lifts, and different lacing patterns can solve small fit issues, but they need to be done with care. Do not ignore persistent pain because you think you should tough it out. Feet change, boots break down, and a fitter can save you weeks of misery.
Keep the First Month Kind to Your Feet
Break-in is not a race. Short sessions, patient lacing, thin seamless socks, and a quick response to hotspots will do more for your skating than one heroic afternoon in stiff boots. Follow the weekly plan loosely, adjust when your feet complain, and let the boots soften over time. When the skates finally feel like an extension of your legs, you will be glad you protected your skin along the way. If you are ever unsure about a fit issue or a stubborn blister, ask a coach, fitter, or clinician for a look—your feet are worth the extra five minutes.
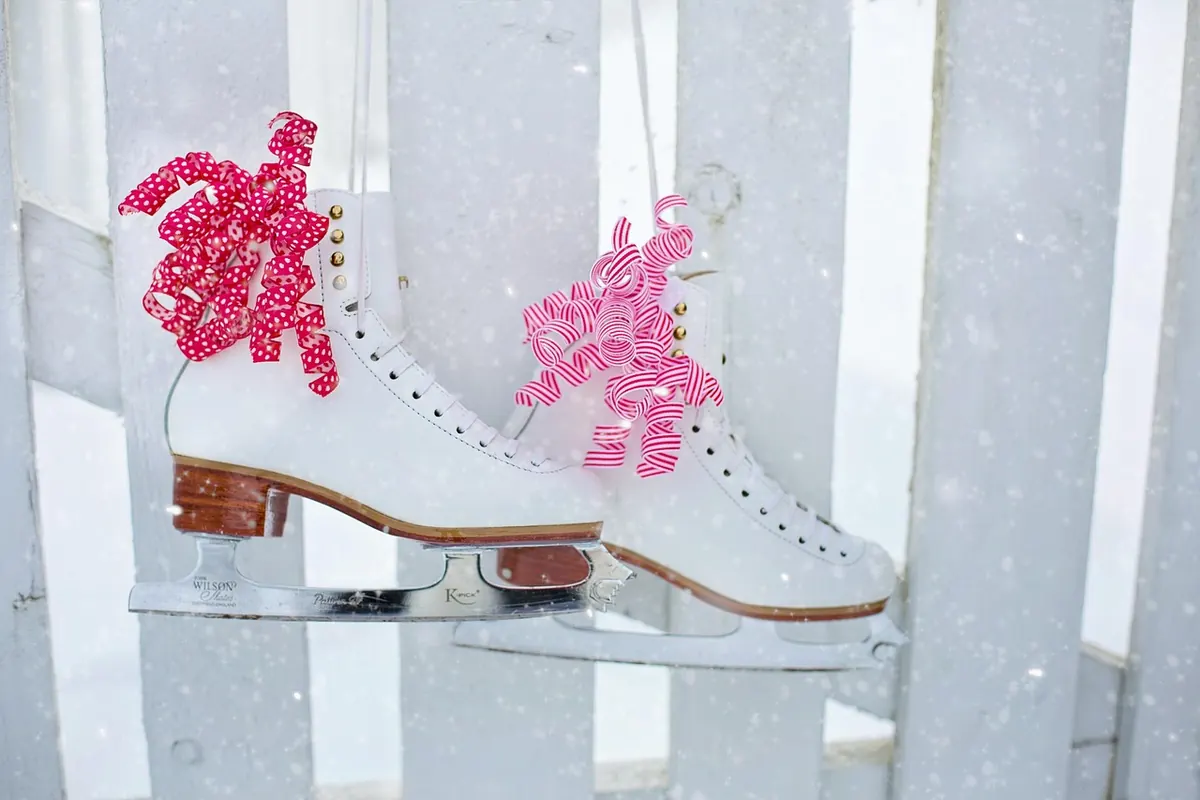
Photo: JillWellington / Pixabay